Frailty Animation Process: Rigging & Animating Characters
Rigging is the process of creating and binding joints to a 3D sculpt’s body to allow it to move. Figure 1 shows the skeleton and joints built for Ernesto, the main character. When creating a skeleton for a mesh, it is important to keep joints extremely symmetrical to balance the polygons in the mesh.
Fig.1a: Skeleton frame for Ernesto
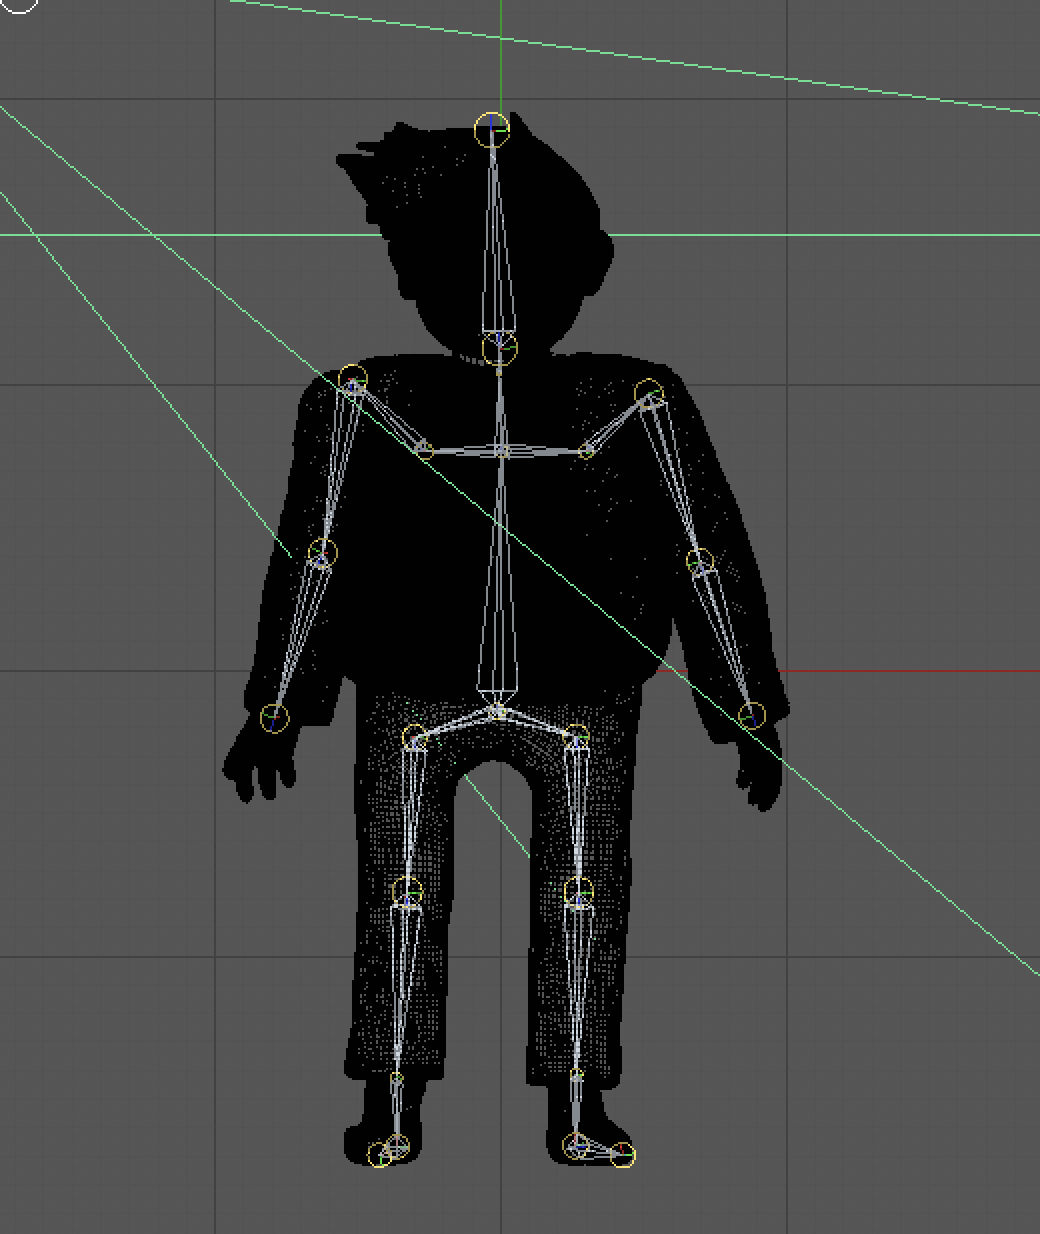
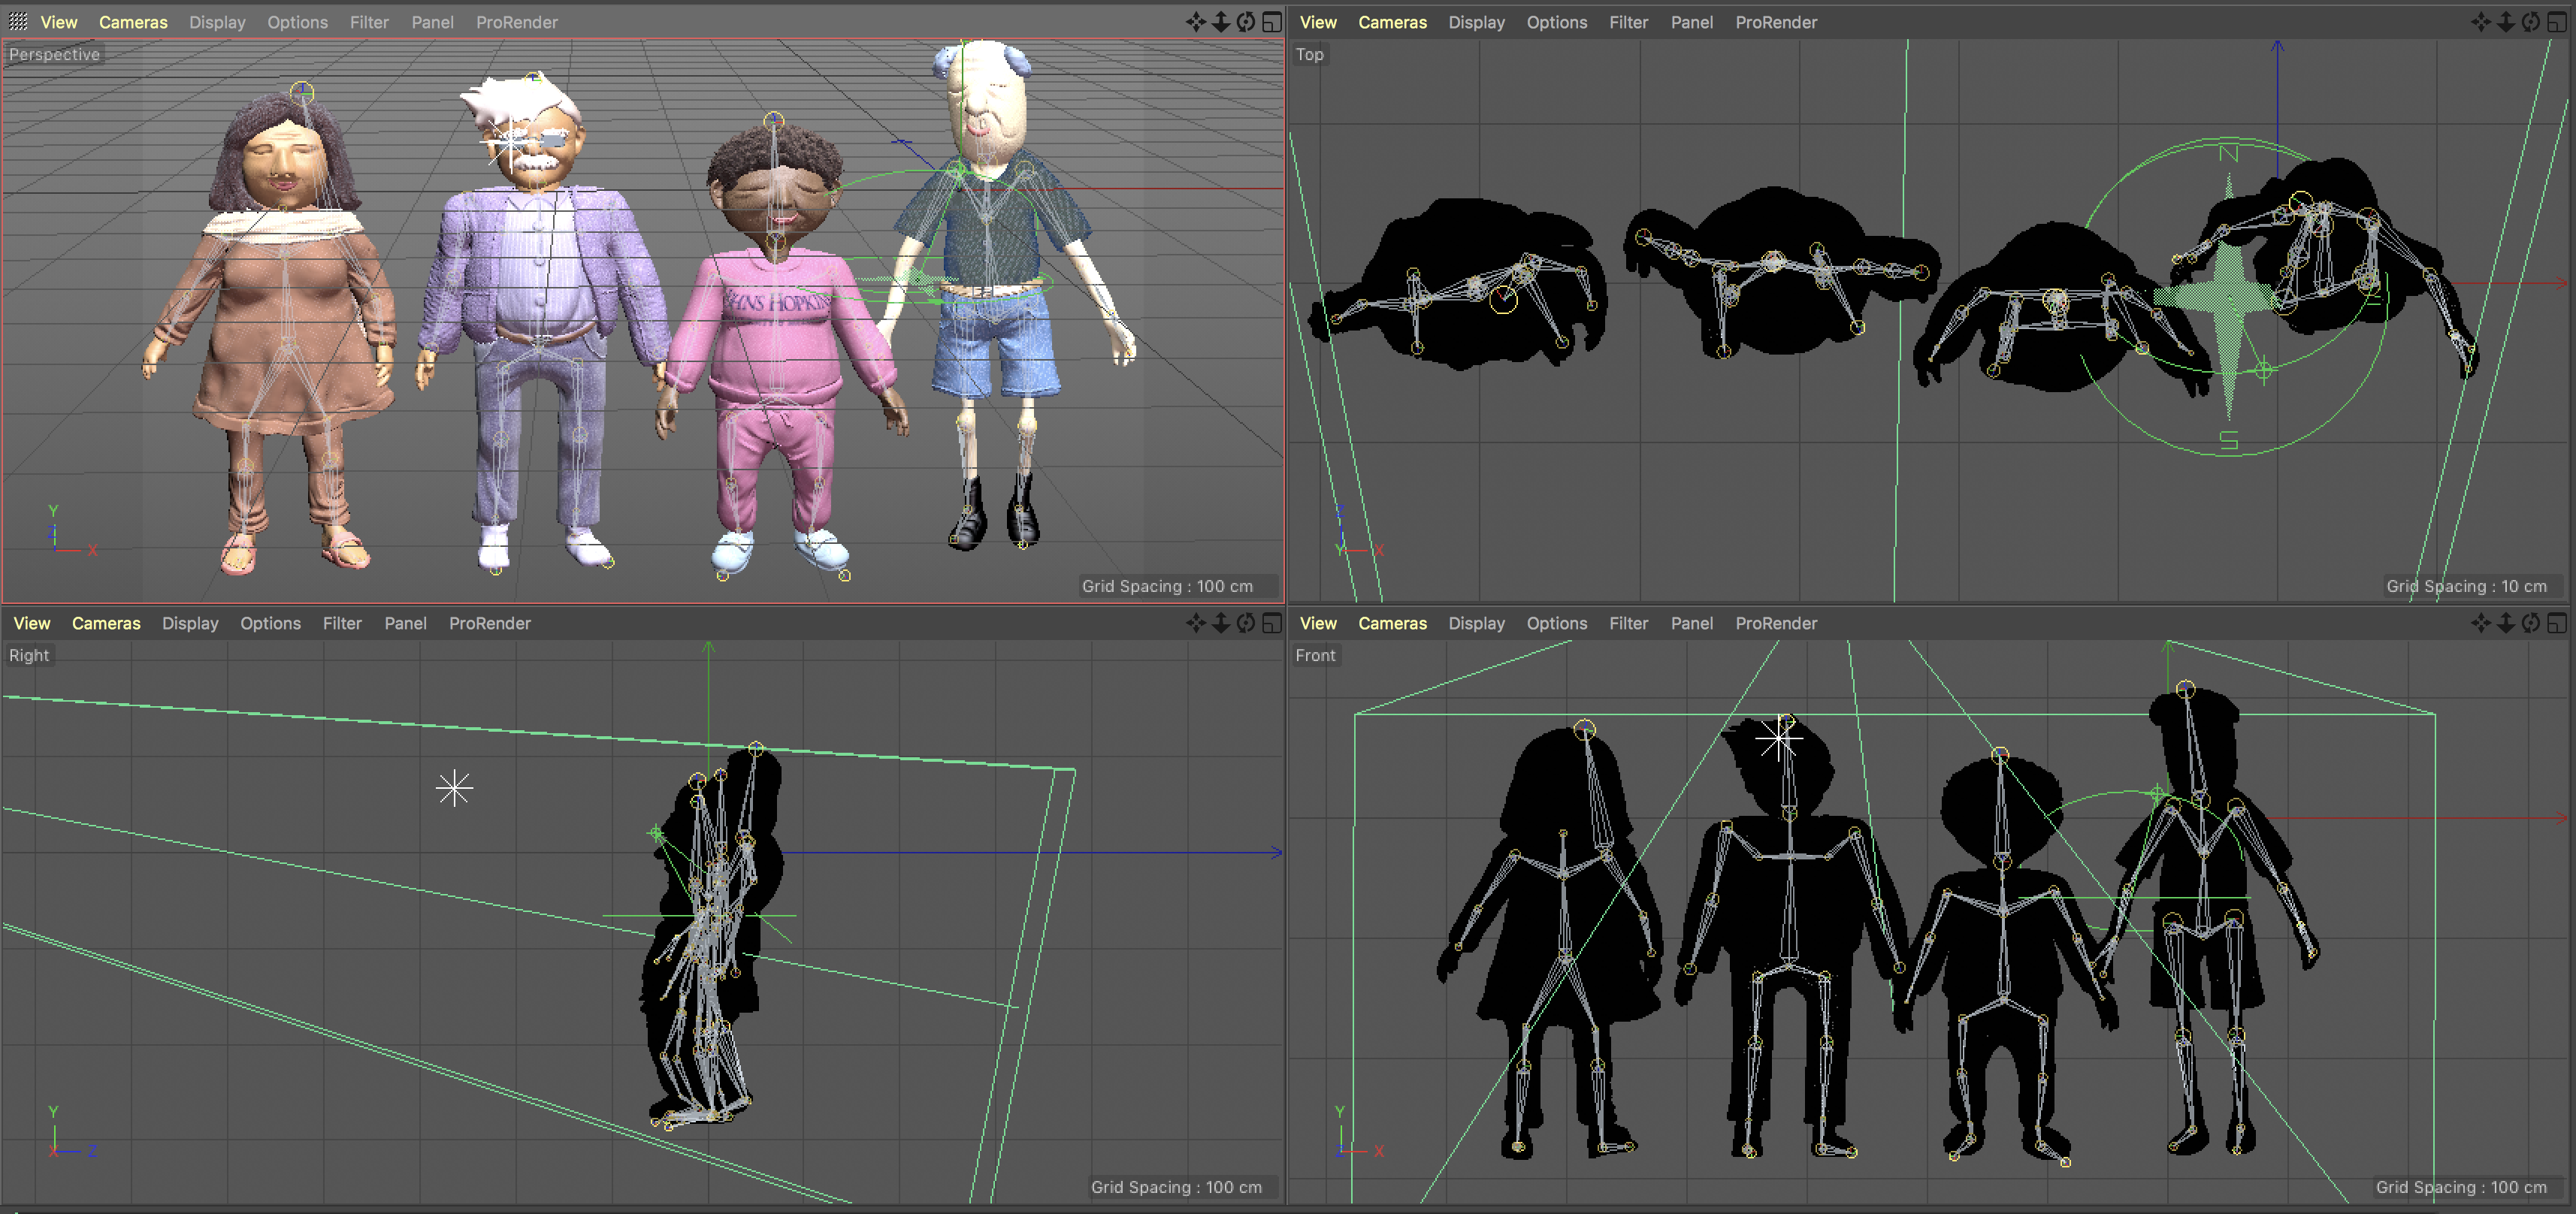
Figure 1b. All Skeletons
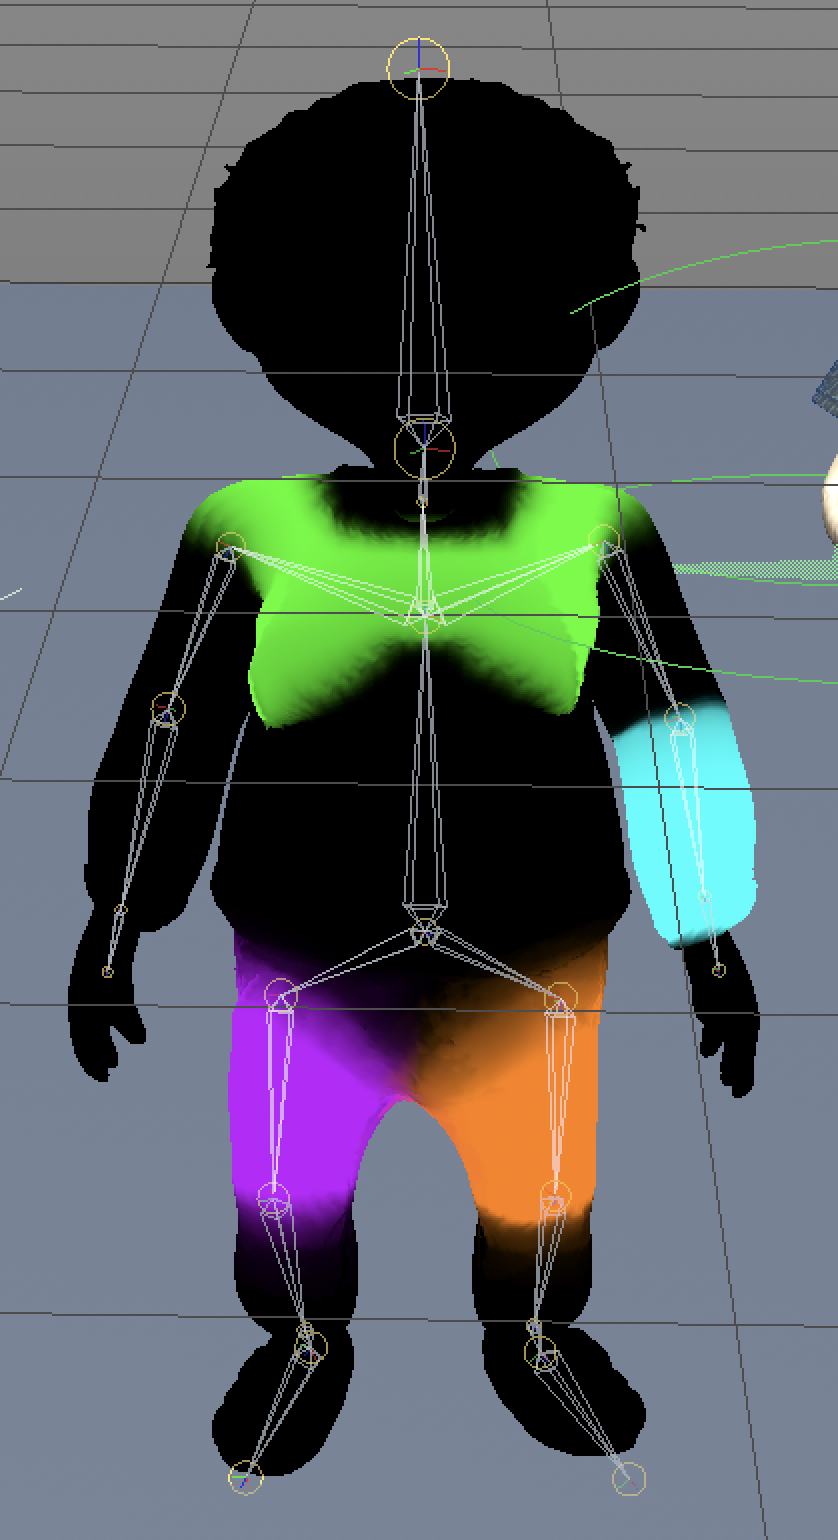
Once the joints are placed, the joint structure is bound to the polygon mesh using a Bind function in Cinema4D. Movement can now be checked by rotating individual joints and the weight distribution can be seen by choosing the weight painting tool in the character building toolkit. The weights are each assigned a color and so the character in Figure 2 is showing all the joints’ weights. Notice how some of the weights are inaccurately distributed! This is where you have to manually paint weights to correct the joint’s deformation.
Fig.2: Joint Weights
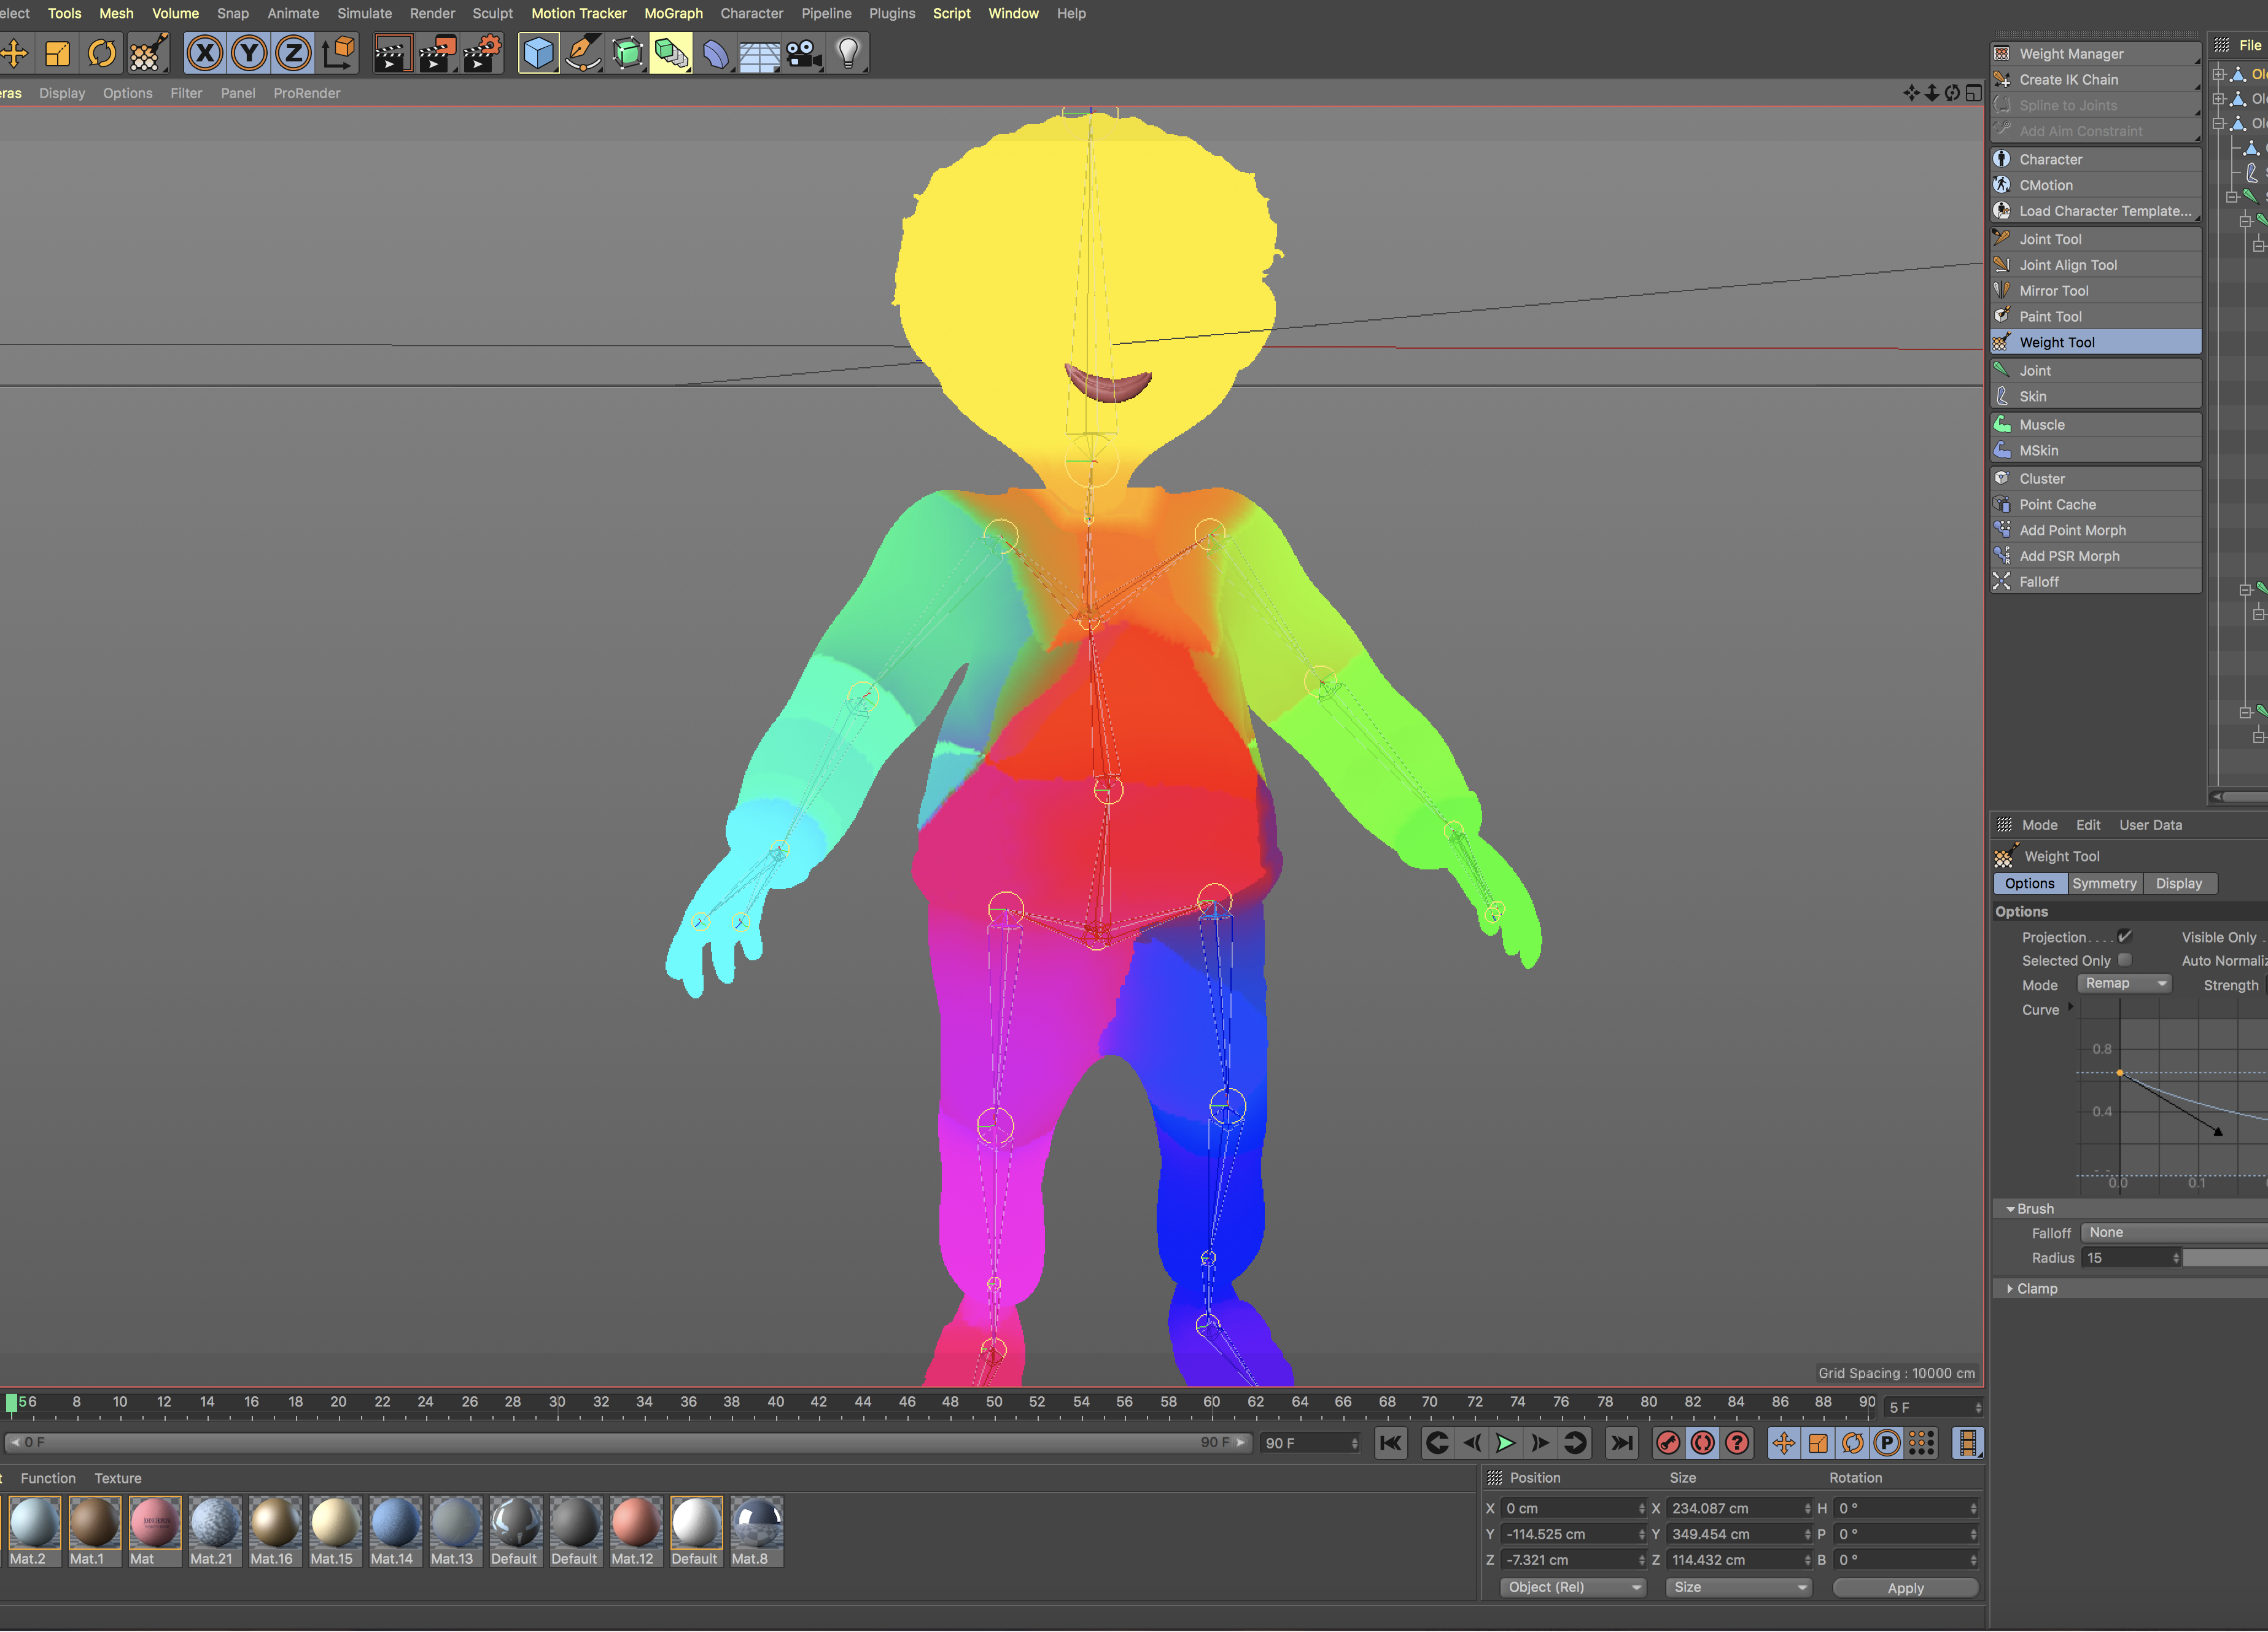
Fig.3 Fixing Weights via Weight Painting
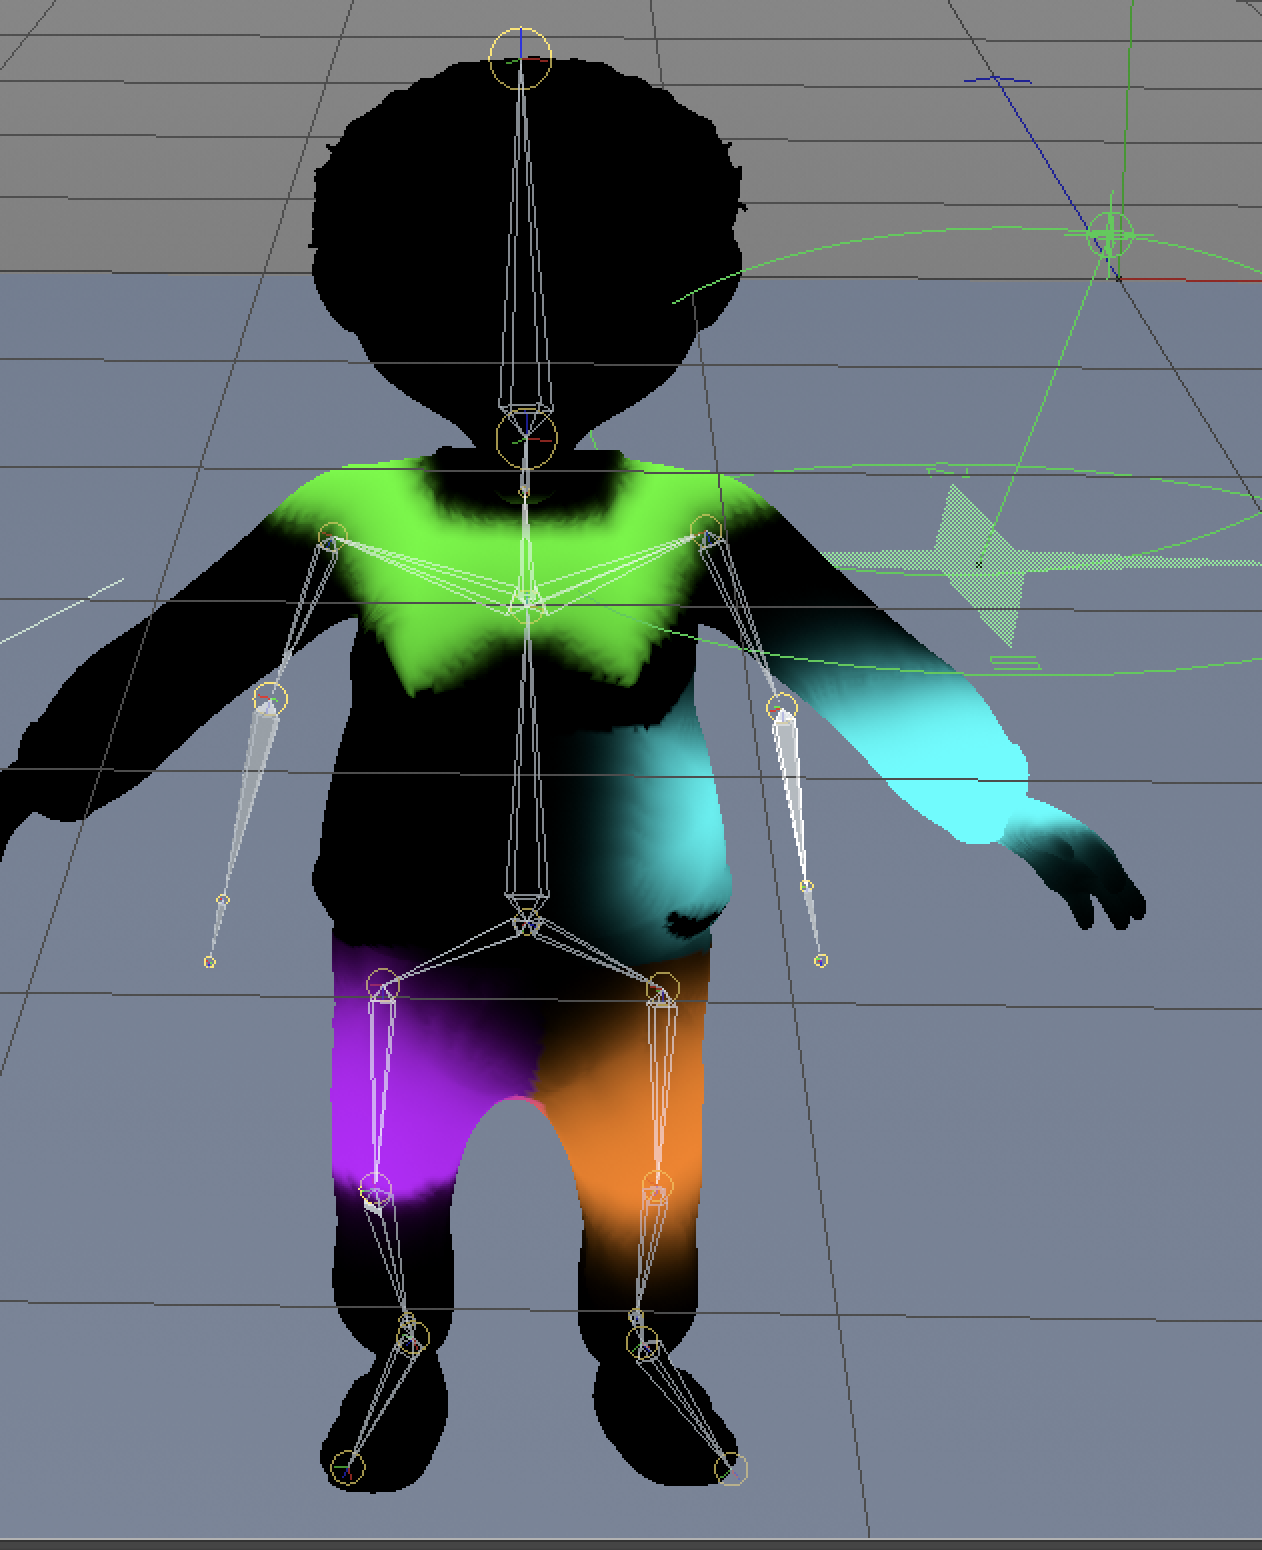
In the figure on the left, you see the weights generated by binding the joints to the mesh, and on the right, you see the corrected weights done by using the weight painting tool.
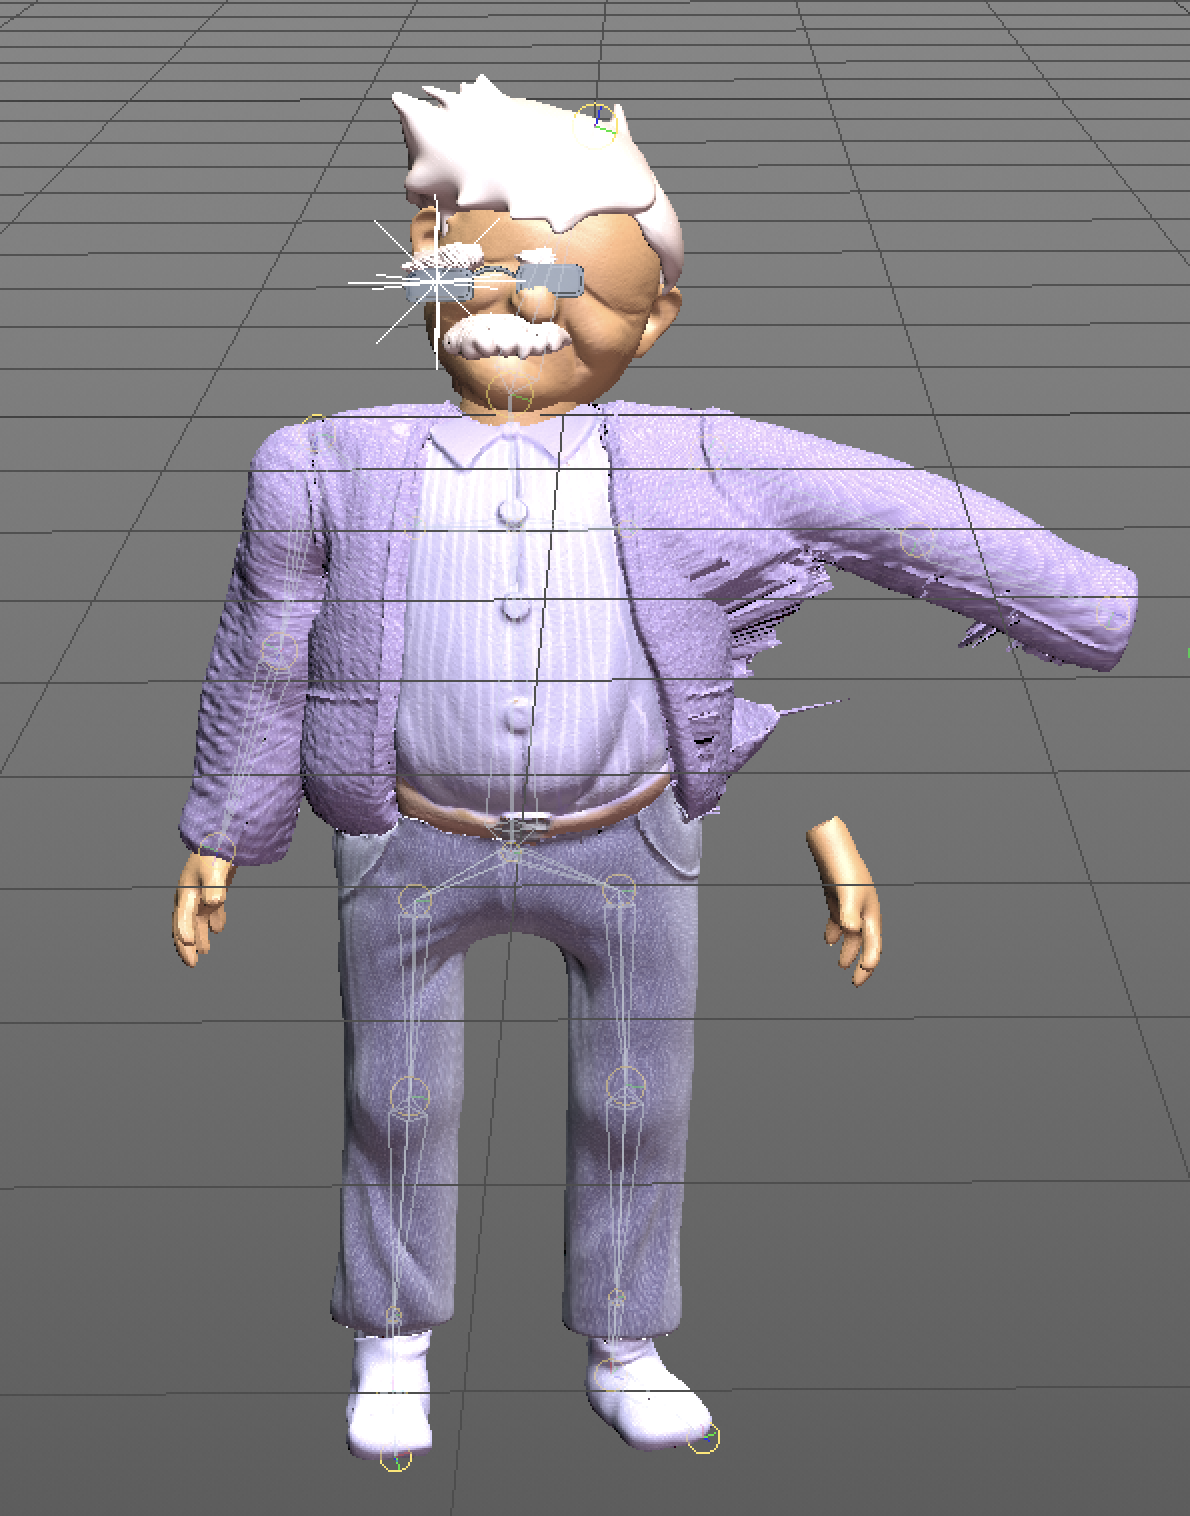
Fig. 4: An example of Bad Rigging which gives you Poor Movement!
Video 1: An example of a rigging test to test how this character’s joints move.
Fig.5: Cellular Effects Created Using C4D R20’s Volume Builder
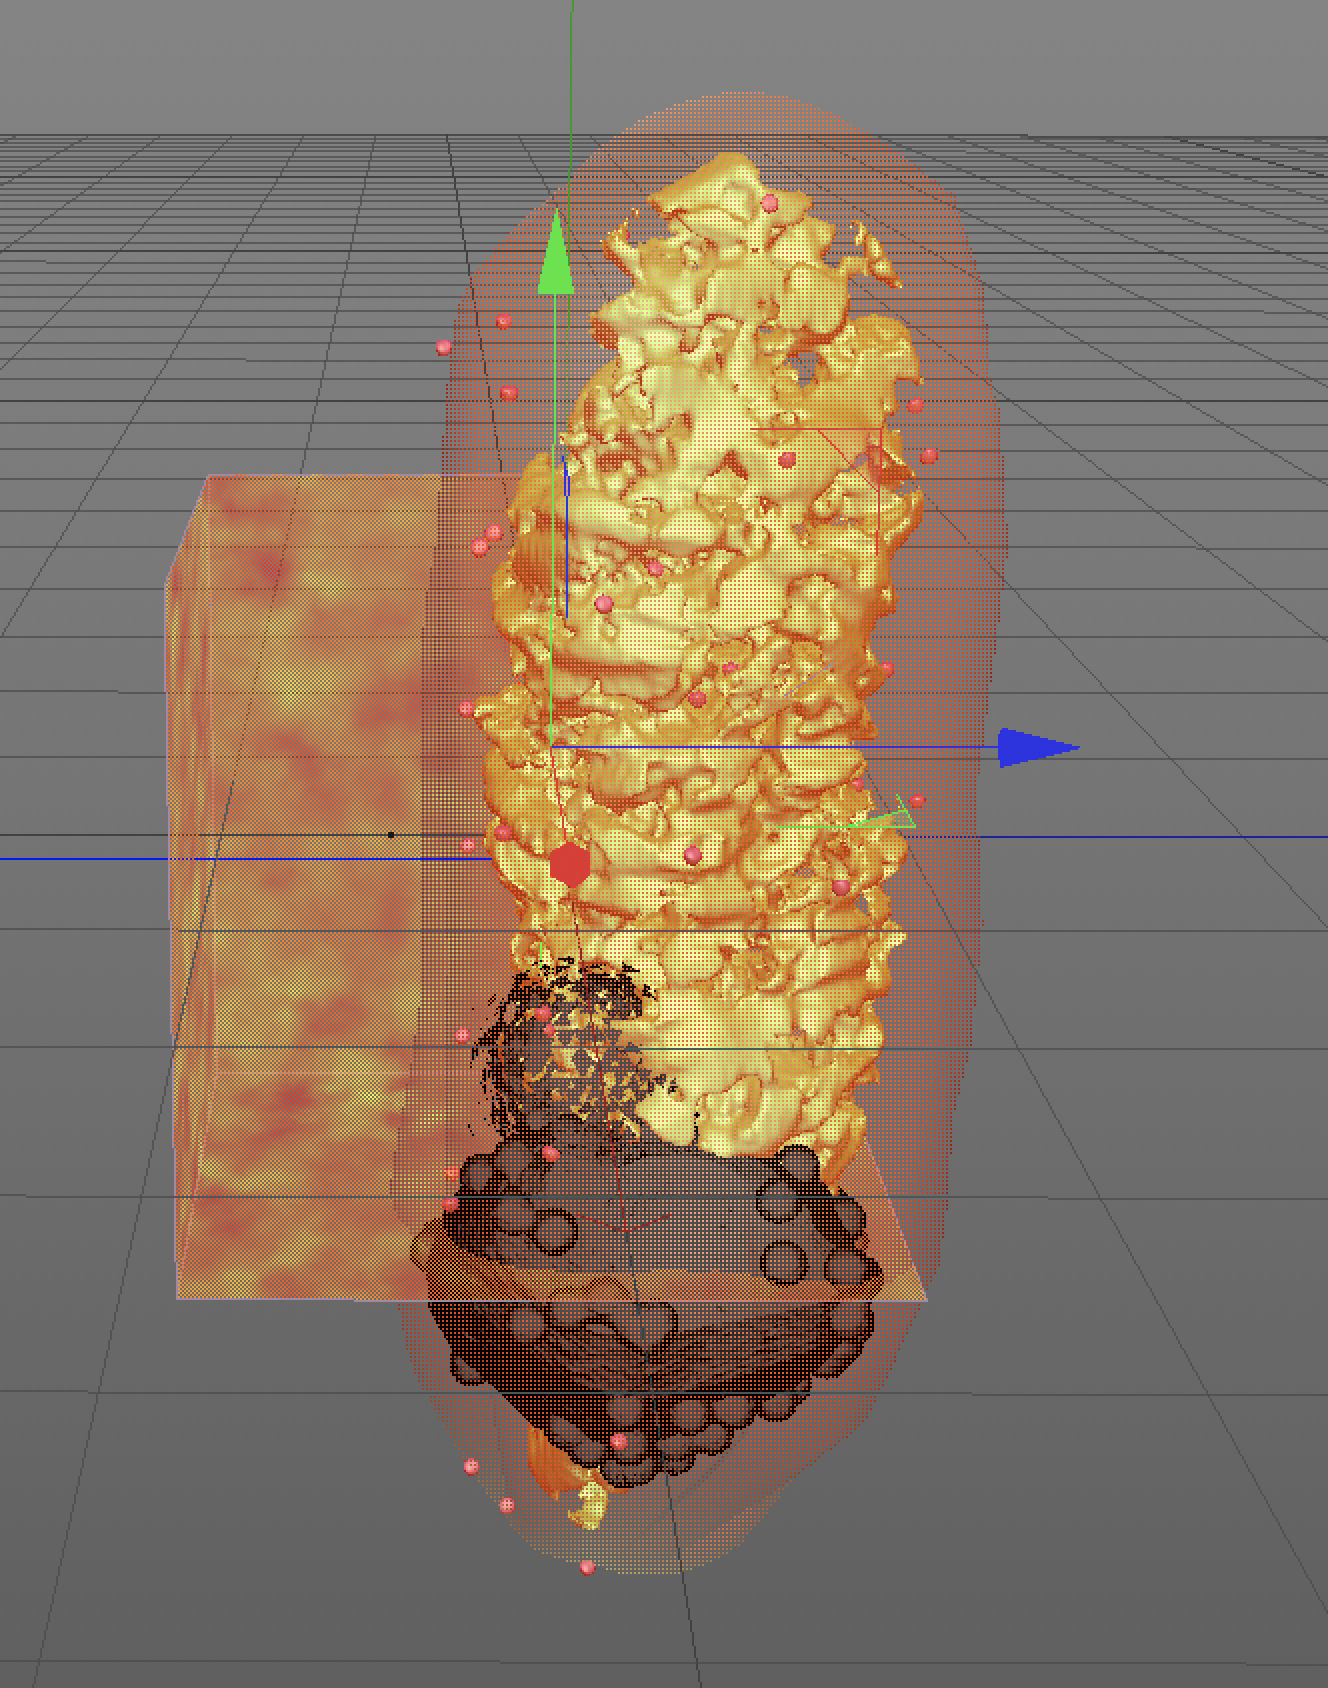
Fig. 6: An example of a scene set-up with multiple cameras, lighting, and characters.
The Doctor’s torso was only sculpted because only her torso is visible in all the shots she is in!
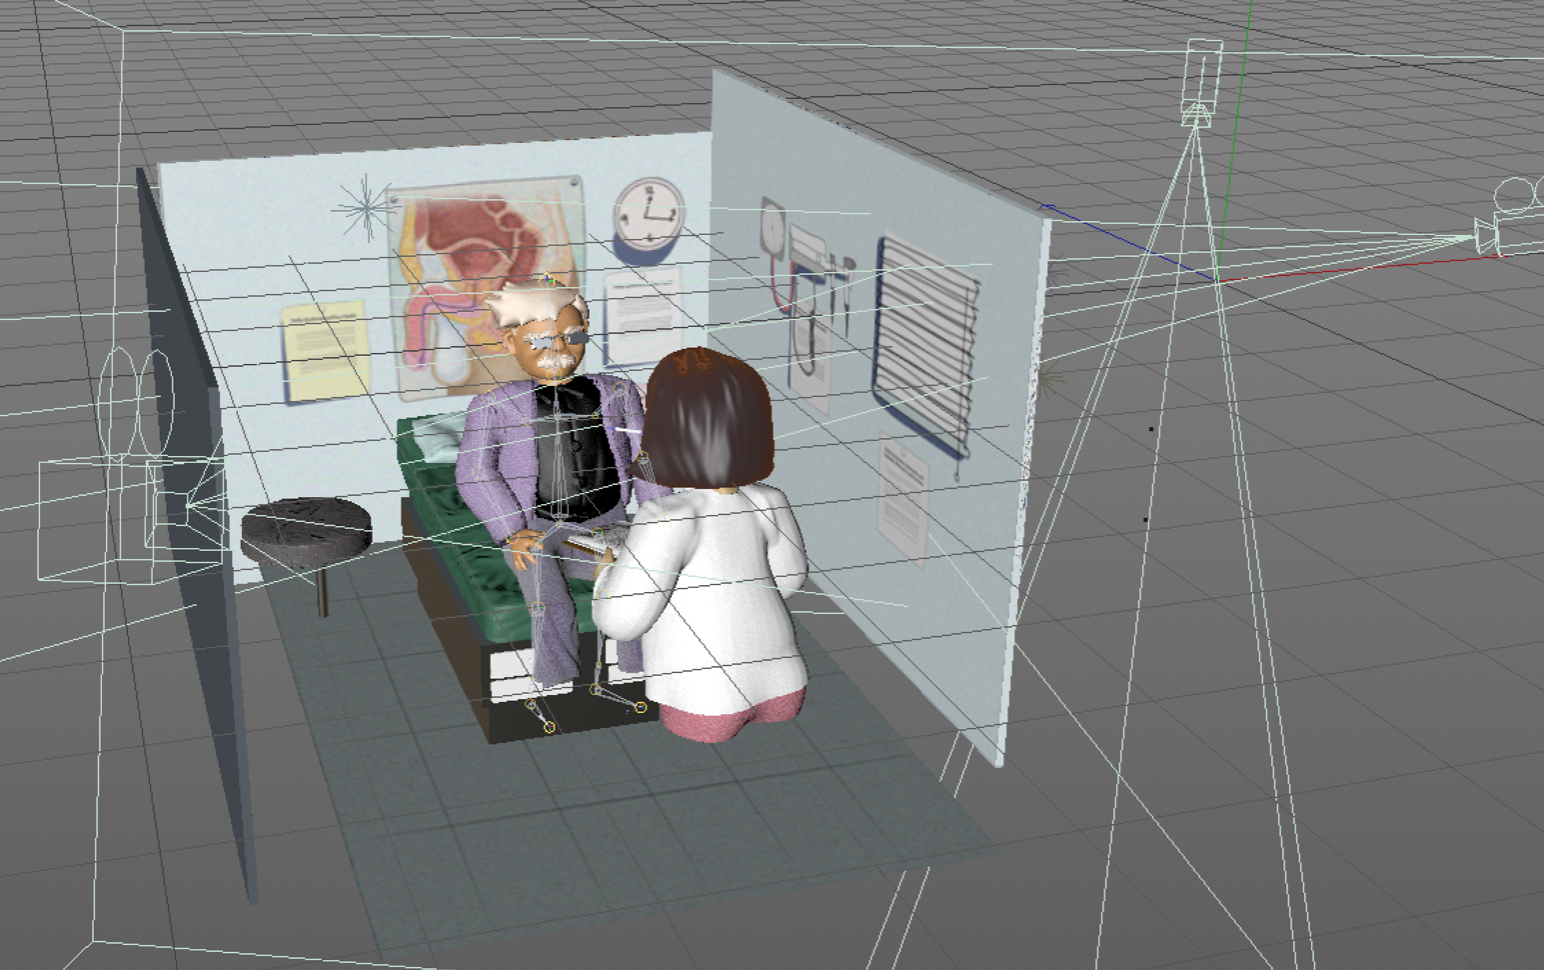
Fig 7: An example of final movement during animation as a result of corrected rigging. 


0 Comments